OpenVAS
OpenVAS is an open-source vulnerability scanner. Today I will be using OpenVAS for the first time on my Kali Linux VirtualBox. I am scanning a vulnerable VirtualBox I got from Vulnhub.
OpenVAS can be installed using these commands:
apt update
apt upgrade
apt install openvas
openvas-setup
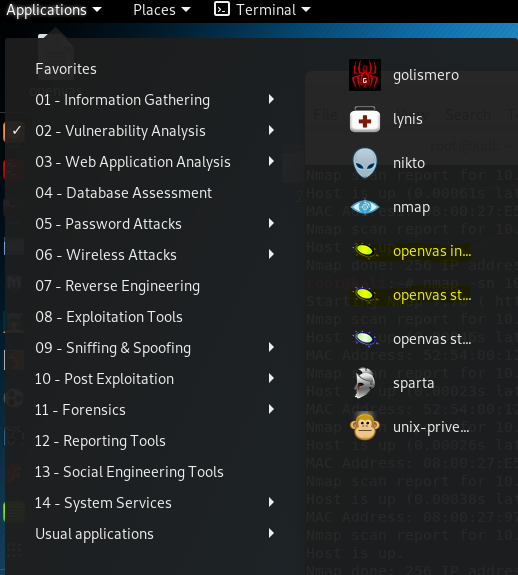
After installed you can run the initialization and then start OpenVAS as seen below.
First, I hovered over the scan tab and then clicked on tasks.
Next, I started to configure my scan. I decided to use the full and fast ultimate scan.
I also configured my target here.
This is what my dashboard looks like before I run the vulnerability scan. I clicked on the little green button in the bottom right-hand corner to start the scan.
These are the results of my scan. I only had one vulnerability found.
This is a detailed view of one vulnerability. I love how OpenVAS shows you how you can mitigate the vulnerability.
OpenVAS is a great and free alternative to Nessus. It took about 2 hours to install. I will be using OpenVAS more in the future.
Thank you for visiting my blog.
Please leave a donation with the link below if you would like to support the blog.


